Have you ever been stuck figuring out what kind of fastener to use when securing a piece of wood? It can be tough. This is why having the right tool for the job affects the outcomes. A framing nailer is also known as a nail gun. When it comes to tackling projects involving heavy-duty lumber construction.
But how do you know when and where to best use your handy framing nailer? Keep reading for all the information. It would help if you used this precision power tool for woodworking projects. Like floating wall shelves, patio decks, fencing, and more!
What Is A Framing Nailer?
A framing nailer is often known as a nail gun. A framing nailer is a hand-held device. A framing nailer uses electricity or compressed air to fire large framing nails. To secure the nails to each other.
When used by a skilled framer, a framing nailer can reduce a week-long job to a day-long task.
An excellent addition to a toolkit is nail guns. As a result, framing a wall proceeds with more give speed.
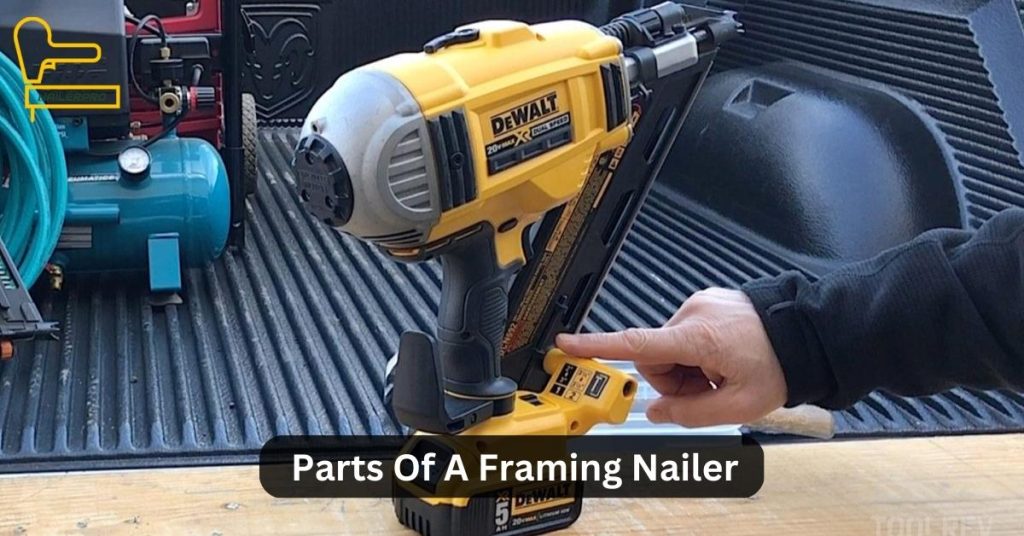
Parts Of A Framing Nailer

The primary exterior parts of a framing nailer list below :
- Handle: Gives the user a tight hold on the nailer and easy control over how to place it for various uses.
- Trigger: Enables the nailing feature of the rifle when the safety press against a surface.
- Safety: controls whether the trigger can fire.
- Trigger selector switch: enables the tool to change between various trigger actions.
- Spring-loaded magazine: the place where the gun’s ammunition loads with nails.
- Depth adjuster: enables change of the nail-driving depth of the gun.
- Driver: the metallic striker used in nailers to drive nails when they fire.
- Rafter hook: enables the nailer to hun from a variety of surfaces when not in use.
What Do Framing Nailer Angles Mean?
Framing nailer angles refer to the angle of the head of each nailer when its fires. Different angles use for different applications as they can use to join two pieces of wood together. A common angle is the 28° full round head which creates a larger hole for easy installation and removal. This angle used for construction projects such as framing, roofing, and sheathing. Other angles include a clipped head, better for thin materials, and the 34° clipped head, which is suitable for thicker materials. Knowing what angles to use helps ensure that all your projects do and.
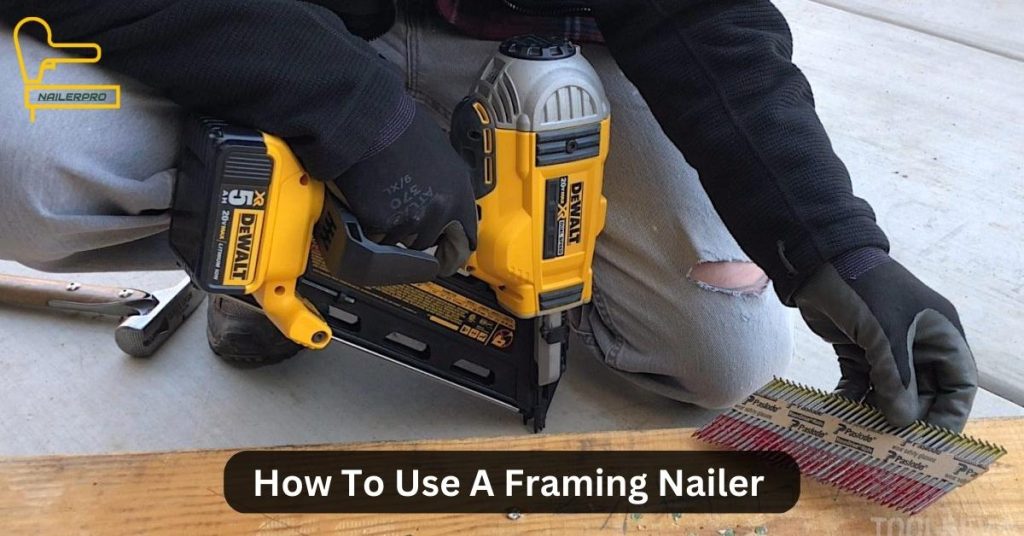
How To Use A Framing Nailer:

Above the nailer’s tip on a framing nailer is a sizable cylinder. Before the trigger fires, the tip must press against the wood as a safety feature. To start the nailer, position the cylinder and nail tip in the desired firing direction. Before pulling the trigger, push the nailer into the wood to depress the nail tip. One nail, about 1/8 inch long, should drive into the board by the nailer. Should the nail be a little deeper or shallower in the wood? On the nailer, you can change the depth change.
How To Choose A Nail Gun For Your Project
Choosing the right nail gun for your project is key to having a successful outcome. It is important to consider the type of material you will be working with. The size of the nails you need and how much power need to get the job done. There are several types of nail guns available, and each has its own pros and cons. You should also take into consideration the safety features. Weight and size of the gun to ensure that it is the best fit for your project. Doing research and comparing different nail guns. Before making a buy is necessary to ensure you get the right tool for the job.
Why Do Framing Nailers Come in Different Angles?

Different angles of framing nailers exist to provide more versatility for various projects. Nailer angles range from 28° 34° and clipped head nailers. Each offers different features that make it suitable for specific woodworking projects. For example, the 28° full round head is great for construction projects like framing, roofing, and sheathing.
At the same time, the 34° clipped head is better for thicker materials. Knowing which angle to choose helps ensure that your projects do. Using the correct nailer angle can also help prevent material from splitting, saving time and money. Knowing the different angles of nailers is an essential part of woodworking.
Types of Triggers:
The triggers on framing nailers can switch between two different types. A single-fire trigger and a bump-fire trigger. For each nail that fires with the single-fire trigger. You must press the nail tip on the wood and squeeze the trigger. In contrast, the bump-fire trigger requires you to keep it down while you “bump” the nail’s tip against the wood to fire it. Although single-firing is more controlled and precise, bump nailing is much faster. Use the single-fire trigger until you are confident with the safety; learn how the tool works before using the bump-fire trigger.
Methods of Fastening:
With a framing nailer, you can nail it in two ways: toe-nailing and nailing. Think of through nailing as inserting one nail into another nail hole square to the board’s face. The more straightforward and typical way of nailing using a framing nailer should master first. But, the nailer may not be able to drive the nails, forcing a nail to drive at an angle.
Toe-nailing is what they do. Getting the angle is the same process as through-nailing. It can take some practice to get the placement right so the wood doesn’t split or the nail tip doesn’t protrude through the assembly’s back.
Safety:
Always wear the proper safety gear when utilizing any power tools. Wearing suitable attire, hearing protection, and safety eyewear. Remember that a frame nailer’s safety measures are not an inconvenience but a need. To maximize speed, the nail tip of the nailer, for instance, should never be disabled or removed. Make no mistake: a nailer like this is a pistol without safety. A framing nail has the same lethal potential for injury as a bullet.
Additionally, I’ve seen some people drag the nail tip back while firing with one hand. Nail guns can malfunction, so this is even another awful idea. And speaking of broken nails, the skull might jam. The head of the nailer may open on all frame nailers to remove any stuck nails. Although fewer than 1% of the time should pass when a nailer malfunctions, it does happen. To be ready for when a misfire does occur, read your operator’s manual to learn how to clear one.
CONCLUSION
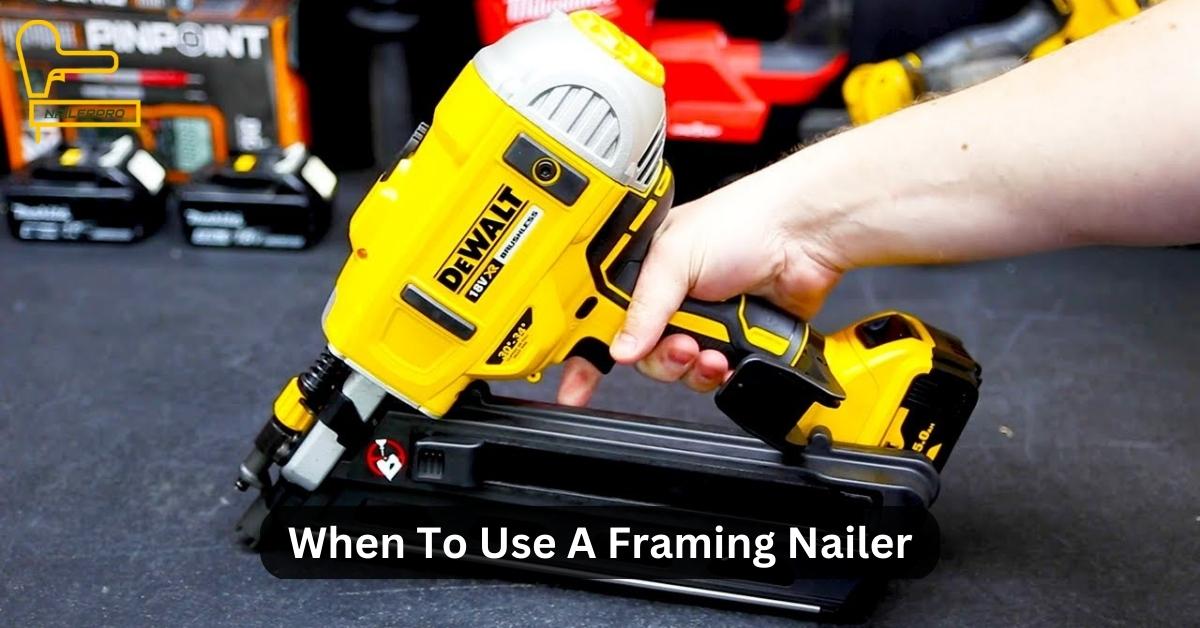
When using a framing nailer, the answer is simple any time you need to make precise and secure fastenings on thicker materials. Framing nailers are designed to drive nails into thicker materials. While also helping to prevent splitting or cracking. With the right knowledge of nailer angles, triggers, and fastening methods. You can trust that your projects will do with a framing nailer.
Working with a framing nailer can be dangerous. Put on the appropriate safety gear, and follow all instructions from the manufacturer. You can trust that your framing nailer will last for years with proper care.

