The amount of cap nails required per square of underlayment is an essential factor in installing a flooring system. The number of cap nails depends on the flooring material, climate, and other factors. To ensure your flooring installation is secure and stable. Must use the main number of nails per square. There are two key elements to consider: the underlayment’s size and thickness. This article will provide the number of cap nails needed for a particular underlayment square.
ROOFING NAILS PER SQUARE
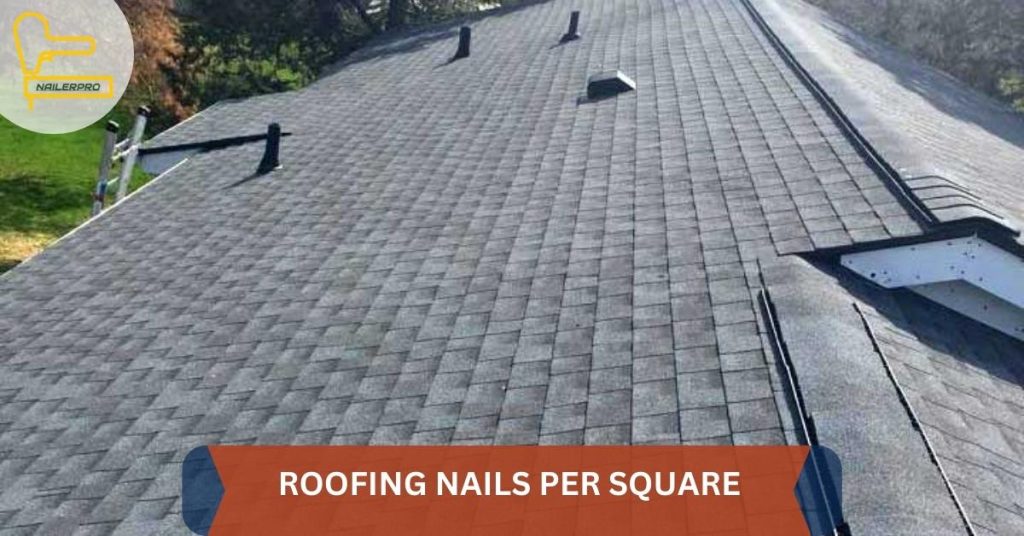
Most shingle producers use four nails for the central part of the roof. Recommends using five nails per square for the first row of roofing. That’s a total of 320 pins, equal to 100 square feet. If you live in a windy region, use 480 nails, or five nails per square.1.5-inch roofing nails have a larger 11-gauge shank when used. It features a large, 7/16-inch flathead. Because of their hot galvanising, nails can survive rain and sun on your roof. A pound of these nails weighs about 140. For each square of shingles, two 14-pound pins are required. In windy conditions, you will need about 3 12 lbs. Nails are purchased by the pound. You can ask your supplier for the exact quantity of pins of a particular length for your size roof.
ESTIMATING SHINGLES NEEDED
You must first calculate the total square footage of your roof’s surface. You will Determine the number of shingles. May be you determine the length and width of each plane, including dormers, on the roof. Next, multiply each plane’s length by the width to determine its square footage. Add the square footage of each plane to choose the size of your roof. One roof plane, for instance, is found on a shed roof. Multiply the length (A) by width (B) to find the roof’s total square footage: A x B = 120′ x 100′ = 12,000 sq. ft.
A two-planed gable roof is another illustration. For each plane, you would thus multiply the length (A) by width (B) to get its square footage. The total square footage of the roof may then be calculated by adding the two planes together:
1. Plane One: 12,000 sq ft at 120 feet by 100 feet.
2. Plane 2: 12,000 square feet, 120 feet by 100 feet.
3. You can calculate the square footage of the roof using the formula Plane One + Plane Two = 24,000 sq. ft.
How Many Cap Nails per Square Of Synthetic Underlayment
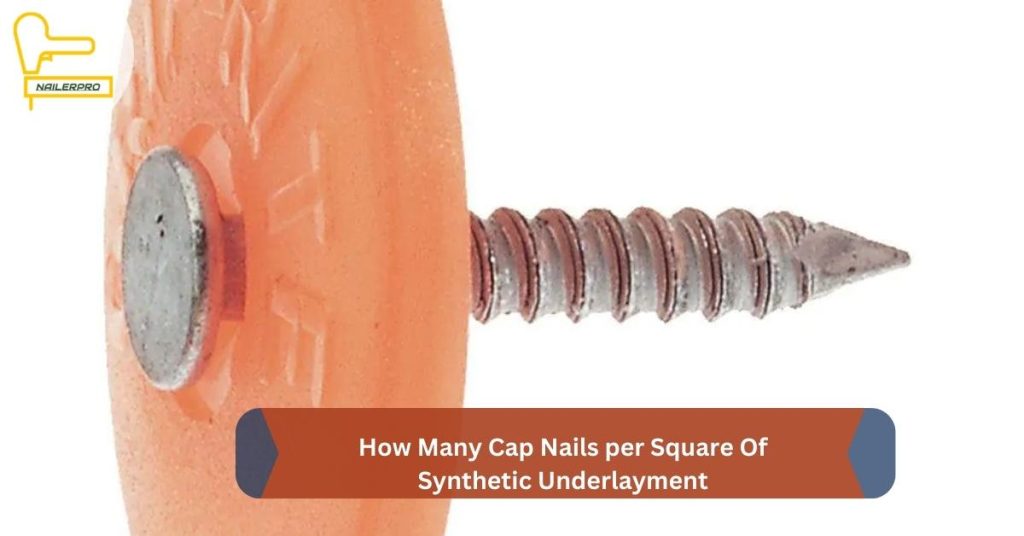
Cap’s nails are an essential part of securing your roof. Cap’s nails are generally used to fasten. It is important to include how many cap nails are needed for the project. Synthetic underlayment requires at least six cap nails per square foot. When using self-adhering, underlayment depends on the manufacturer-specific product. Generally, cap nails should be placed two feet apart. A square of underlayment requires at least 24 cap nails to ensure the product is secured.
How Many Nails per Square Of Cedar Shingles
To install cedar shingles, you will need to use nails. Generally, 1-1/2 inch galvanised roofing nails with a broad flat head are used to secure the shingles. When calculating the necessary number of pins for your project, You must take your roof’s size into account.
On average, you will need at least four nails per cedar shingle to protect against wind. They should be spaced and inserted all the way through the shingle if you live in a place where winds are very strong. You may want to use more nails to ensure the shingles are secured.
How Do You Nail Down a Roof Underlayment? 7 Steps Guide
1 Wear safety equipment, such as gloves and eye protection, before you start.
2. Start installing the roofing felt by positioning it along the roof’s edge. Ensure to leave a one-inch gap between the felt and the eave/wall.
3. Using a hammer and 1-1/4 inch galvanized roofing nails, fasten the felt. Roofing nails. Ensure to drive the nails in at an upward angle.
4. Continue laying down the felt and nailing at two-foot intervals across the entire deck of your roof.
5. Once the felt is completely install, you must cap off the top edge. Use galvanized roofing nails and a hammer to secure it in place.
6. Once the felt is nailed, you can install the shingles. Make sure to overlap each layer of felt with the one below it.
7. Finally, you can trim off any excess felt around the edges of your roof. Be sure to use a utility knife for this.
With these steps, you can nail down your roof underlayment and ensure it is secure. Be sure to keep safety in mind and wear protective gear while working on your roof.
Good luck!
What Is Roof Underlayment, And What Are Its Benefits

1. A layer of material called a roofing underlayment. Between the roof deck and the roof covering, it install. It serves as a more layer of defence against water infiltration and moisture absorption.
2. Various roofing underlayments are available, including felt paper and asphalt-saturated felt.
3. Advantages of installing underlayment are more protection against water and air intrusion. Improved thermal performance and longer service life.
4. Roof underlayment must install to ensure performance and longevity.
5. Need to consult a professional roofing contractor when installing roof underlayment. To do this and offer the required security.
How To Choose The Proper Roof Underlayment for Your Home?
1. Identifying the correct type of material to use as an underlayment is the first stage in the selection process. Felt paper offers a good level of protection at a lower price. Synthetic underlayment is durable and can provide more security against water penetration.
2. Consider your local climate when choosing the proper roof underlayment. A heavier weight underlayment require to provide the necessary protection.
3. Different types of underlayment are rated for different climates. So be careful to pick the right one for your region.
What Type Of Fasteners Should I Use To Hold Down Synthetic Underlayment?
The roofing contractor determines the type of fasteners. It should use to secure the synthetic underlayment. As the same pins are compatible with all grades of Apple products Superior, Ultra, and Platinum. Consideration should give to how long the underlayment will expose. Here’s a handy guide to help you choose the suitable fastener:
Fasteners for same-day roof installation
Emily products are manufacture to work with code-approved fasteners. Compatible with our Ultra and Platinum grades of underlayment. You can use plastic cap nails, 7/16″ crown staples, ordinary roofing staples, and corrosion-resistant nails with 3/8″ heads. The roof erected on the same day—fastener exposure for extended or high-traffic installations.
Fasteners for extended exposure or high-traffic installations
Underpayments on high-traffic roofs and underpayments will expose for long periods. Both are more likely to tear. You should only use cap nails, crown cap staples, or 3/8″ head roofing nails for this installation.
What if you have a steep roof?
Use one of the alternative techniques listed below to gauge a steep roof:
Method 1
Measure the outer walls and the overhang along the length of the house, parallel to the ridge, to determine the size of the roof.
Next, fling a rope across the ridge, marking its intersection with each eave as you go. This will provide the width dimension for your area calculation. Each roof part with a horizontal rise needs to have this done.
Method 2
A mathematical formula considers the roof length, total span, and pitch. It can use to calculate the roof area:
Use a pitch measure to determine your roof’s pitch (available free through any app store).
Need to to gauge the length of the entire roof surface, including overhangs.
Calculate the roof’s span, taking into account overhangs.
Add the length and the breadth together. The area of the plane will be the outcome. Using the chart below, determine the total roof area.
Plane Area x Correction Factor = Roof Area, which will give you the entire roof area.
Conclusion
The number of cap nails per square foot of underlayment will depend on the roof’s pitch. It is best to use 4-6 cap nails per square foot of underlayment on flat roofs. Using 6-8 cap nails is best when working on steep roofs. Use of nails with 3/8″ heads or other code-approved fasteners recommended to ensure installation.