Do you want to think to buy a framing nailer? A framing nailer is a versatile and powerful tool that can make quick work of many constructions and home improvement projects. But how does a framing nailer work?
Usually, a pneumatic or cordless framing nailer is powered by an air compressor or battery. The air compressor provides the power to drive the nails into the lumber. The battery provides a power source for the cordless versions. It is the general working mechanism of a framing nailer.
In this context, I’m going to share with you the process of framing nailer works. After reading this content, you can decide whether should you purchase a nailer for your project or not. So, let’s get started!
What is a framing nailer exactly?
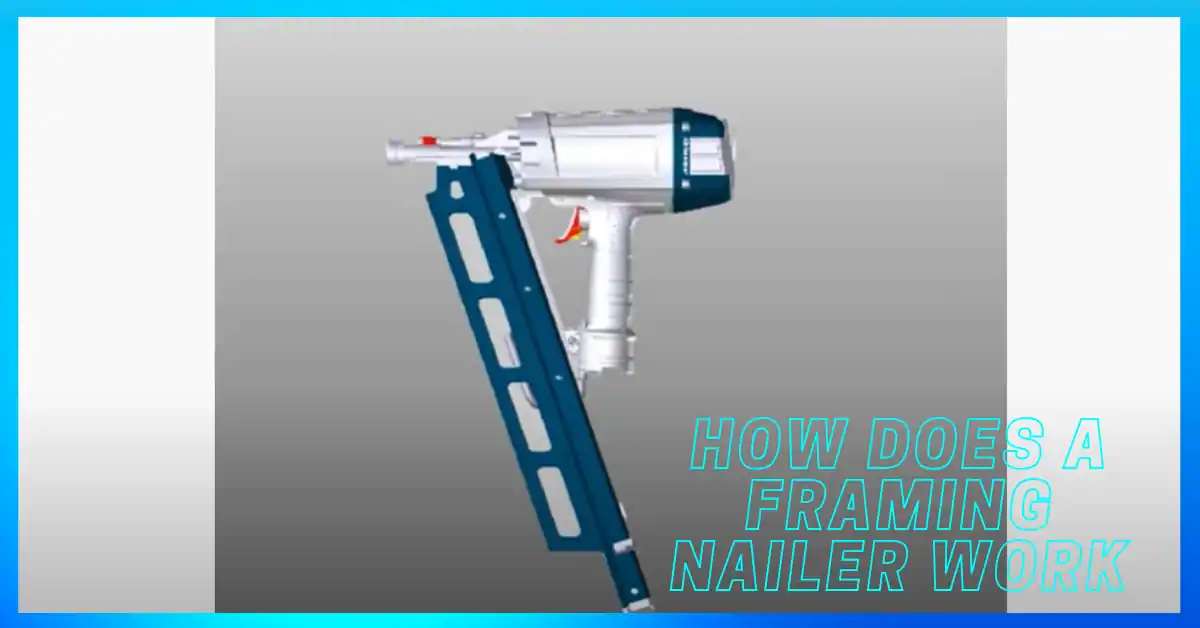
A framing nailer is a tool that’s used for attaching materials to each other. It’s usually powered by compressed air, although some models can also be powered by electricity. It helps us s to install the materials in a specific place.
A framing nailer is good for attaching wood, metal, plastic and other materials together. With a framing nailer, we are able to lay out the materials before we start working on them. It’s also easier for us to install these materials into place since it has an adjustable depth control feature. This allows us to adjust the nail size according to what we need.
If you need to complete a large project, a framing nailer is a perfect tool for you. With its help, you can finish your work faster and with less hassle.
How does a framing nailer work?

You almost knew what is exactly a framing nailer. Besides, you already knew what’s its purpose. Now, it’s essential to know the working procedure of a framing nailer.
Want to buy a nailer to adjust something? Wait! Before, purchasing one, you should know how this works. If you found any fault after a few months then you can repair it without any help from professionals. To repair a nailer, you must know how it works. So, let’s see the steps:
Step 01: Trigger.
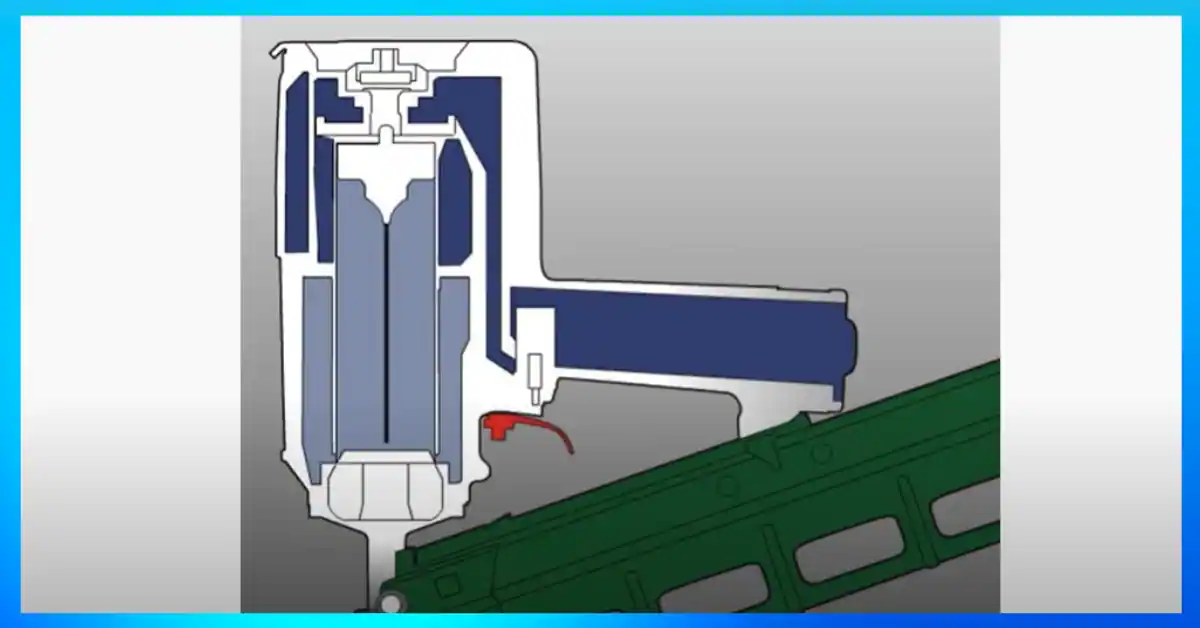
It uses a trigger mechanism that controls the flow of air over a piston, which propels the nail. When you pull the trigger, air flows past a valve and allows the piston to move forward.
Step 02: Nail Magazine.
The nail magazine is where you place the nails or staples that you want to use. This type of magazine holds a number of nails, and it usually has a capacity of around 100.
Step 03: Nail Guide.
This is a small piece of metal that helps guide the nails so they don’t miss their target and go flying off into space!
Step 04: Safety Features.
All nail guns have at least one safety feature built in, if not more than one. A safety lock prevents accidental firing when not in use and there are many different types of locks available such as button lock, pin lock and latch lock.
So, this is how and with all the mechanism a framing nailer work. If you are a beginner then you should understand all the mechanisms and their features as well.
What nailer should I use for framing?
15-degree nail guns are the best for most framing jobs. They have a wide range and are easy to use. 15-degree nail guns are also called “box nailers”. Because they can easily drive nails into wood boxes. If you need an affordable nailer, then it is a good choice. It’s designed for small jobs and comes with a battery pack that can run for up to 1,000 nails on one charge.
Let’s see some benefits of 15-degree nail guns:
1) The first benefit is that it’s easy to use. It has a simple design that makes it easy for anyone to use, even those who have never used nail guns before. No matter what level or expertise you have. You can use this with less effort.
2) Another benefit of 15-degree nail guns is that they are durable. They are made from high-quality materials. This can withstand years of abuse without breaking down.
3) The third benefit of 15-degree nail guns is that they are lightweight. They are designed with a compact design that makes them easy to carry around and use. If you want to complete several remote tasks then it’s a gem for you.
Now, let’s see some short drawbacks of these 15-degree nail guns:
1) The first drawback of 15-degree nail guns is that they are expensive. They are usually made from high-quality materials. This makes them more expensive than the regular ones.
2) Another drawback of 15-degree nail guns is that they are not as powerful as a 30-degree nail gun. They have smaller air compressors and produce less pressure than their counterparts.
Is buying a framing nailer worthwhile for only one project?
Sometimes we need special tools to help complete a home improvement project. But, is it worth it to buy a tool if we are only going to use it once? For example, a framing nailer is useful for attaching lumber together when building a frame, shed or deck. If you know you will only need to use the tool once, you may be able to borrow one from a friend or family member.
You can also check with your local hardware store to see if they offer rentals. Another option is to purchase a used tool. This can be found online or at garage sales. Weigh the pros and cons of each option to decide what is best for you and your project. There are also alternative ways to attach lumber together. Such as using screws or brackets. Let’s see how can you complete your project without a framing nailer:
Requirement:
You will also need-
(i) Screws
(ii) Washers
(iii) Drill
(vi) Level
If you have all the necessary equipment, then you can follow the steps below-
Step 01: Measuring the lumber
You will need to take proper measurements of the lumber before you start attaching them together. This is to ensure that everything fits perfectly and there are no gaps.
Step 02: Drilling pilot holes
Use a drill to create pilot holes in the lumber. These pilot holes will be for the screws. Make sure that the drill bit is smaller than the screw so that the screw can fit snugly into the hole.
Step 03: Adding washers
Place a washer onto each screw before you start screwing them in. This is to distribute the load evenly and prevent the screw from going through the lumber.
Step 04: Attaching the lumber together
Start by attaching two pieces of lumber together. Then use a level to make sure that they are aligned perfectly. Once you are happy with the alignment, start screwing in the screws. Repeat this process until all the lumber is attached together.
As you can see, it is possible to attach lumber together without a framing nailer. It might take a bit more time and effort, but it can be done. So, if you only need a tool for one project, consider borrowing or renting from someone.
Precaution while using a framing nailer
To avoid risk as a beginner you should use a few key safety measures when working with your framing nailer. Here are some of them:
1) Use the right type of nail: The first and foremost thing is to use the right type of nail. Depending on the material you’re working with, you should use different types of nails. For example, if you’re working with softwood, then you should use a sinker nail.
2) Use gloves: It’s always a good idea to use gloves when working with any kind of power tool. This will protect your hands from any debris that might fly up.
3) Use safety glasses: Always wear safety glasses when using a framing nailer. This will protect your eyes from flying debris.
4) Be aware of your surroundings: When using a framing nailer, you should be aware of your surroundings at all times. This includes things like keeping your fingers away from the trigger.
5) Follow the manufacturer’s instructions: Always make sure to follow the manufacturer’s instructions when using a framing nailer. This will help you avoid any accidents.
Final word.
Finally, you have almost known how a framing nailer work. The working process is not too complicated and you just need to follow some simple steps. Now, it is your time to try and experience this wonderful tool. I believe that you will not be disappointed.
Before concluding the content here are two pieces of advice for you: First, when working with a framing nailer, always remember to keep safety in mind. Second, don’t forget to regularly maintain your framing nailer to keep it in good condition.
I hope you find this article helpful. If you have any questions, feel free to leave a comment below. Thanks for your great interest!